Walkero
software engineer, Drupal follower, Docker ninja, JS explorer, PHP believer, exotic Hardware beta tester, Amiga enthusiast, truth seeker, parent & husband... at least for now...
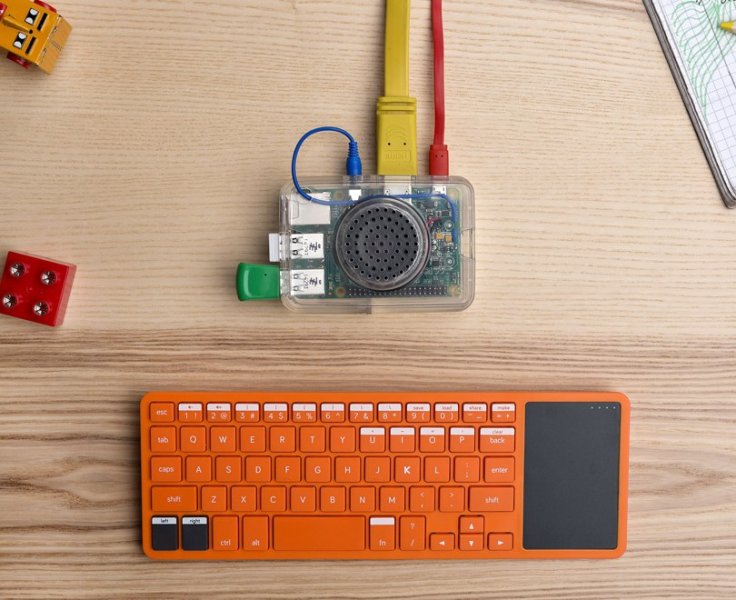
Last Christmas my son got a Kano Kit by Santa and he is so happy with that, that he ruined the installation. :D Something went totally wrong and the system kept restarting all the time, before I could do anything. So I decided to reinstall the Kano OS to the SD memory it comes with the Kano Kit. But my system I like to use is based on Linux Mint, which is not supported by the Kano Team, at least there is no info at their page. So, how can someone reinstall the Kano OS with Linux Mint?
First of all we have to download the latest available image of Kanux OS. There is this website where you can find all the versions, from the oldest one to the latest. The latest version has a greater version and subversion number. For example the version 2.2.0 is newer than the 2.1.0 and the 2.0.1.

If your SD card is 8GB of capacity, then you need the image which has the same value in it’s name, f.ex. Kanux-Beta-v2.2.0-jessie-release-8gb.img.gz. This file is smaller than 1GB but when you untar it on you hard disk it will reserve around 8GB on one file with the extension .img.
The Linux Mint distribution has a great little application called USB Image Writer. You can find it at the menu. In case it is not installed, use the Software Manager App to install it by searching for the mintstick application.
With USB Image Writer you can write any disc image file to a USB, like the IMG file, in our situation. You can also burn ISO files from live CDs/DVDs and use them to boot your system.
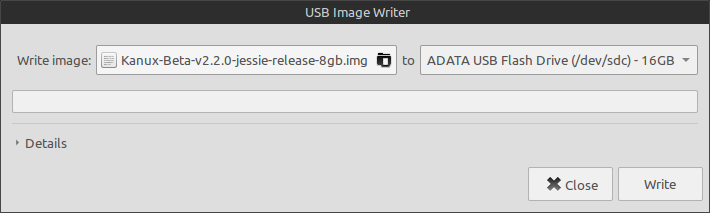
Using the USB Image Writer you choose the IMG file at the field “Write Image”, and at the field “to” you choose the USB device you mounted with the SD card. The capacity should be close to 8GB. Then you press the “Write” button and wait a few minutes until it finish it’s transfer.
CAUTION: This procedure deletes anything that exists in the SD card, and you can’t retrieve them later.
As a last step, you have to add the SD card back to the Kano device and boot as you should.
There are a few guides in the web that points to use the command dd through your terminal. Unfortunately this didn’t work for me, and I think the above steps are easier for anyone to do.
Take care and have fun with the new installation of your Kano OS.