Walkero
software engineer, Drupal follower, Docker ninja, JS explorer, PHP believer, exotic Hardware beta tester, Amiga enthusiast, truth seeker, parent & husband... at least for now...

The JIRA Agile online Management System is a great platform for developer teams, who really need a powerful tool to organize tasks and jobs. Unfortunately, JIRA’s UX is a little bit chaotic. This makes it difficult to be used by people who are not experienced with such platforms, for even simple tasks, such as a way to see tasks where people mentioned you. Let’s see how this can be done!
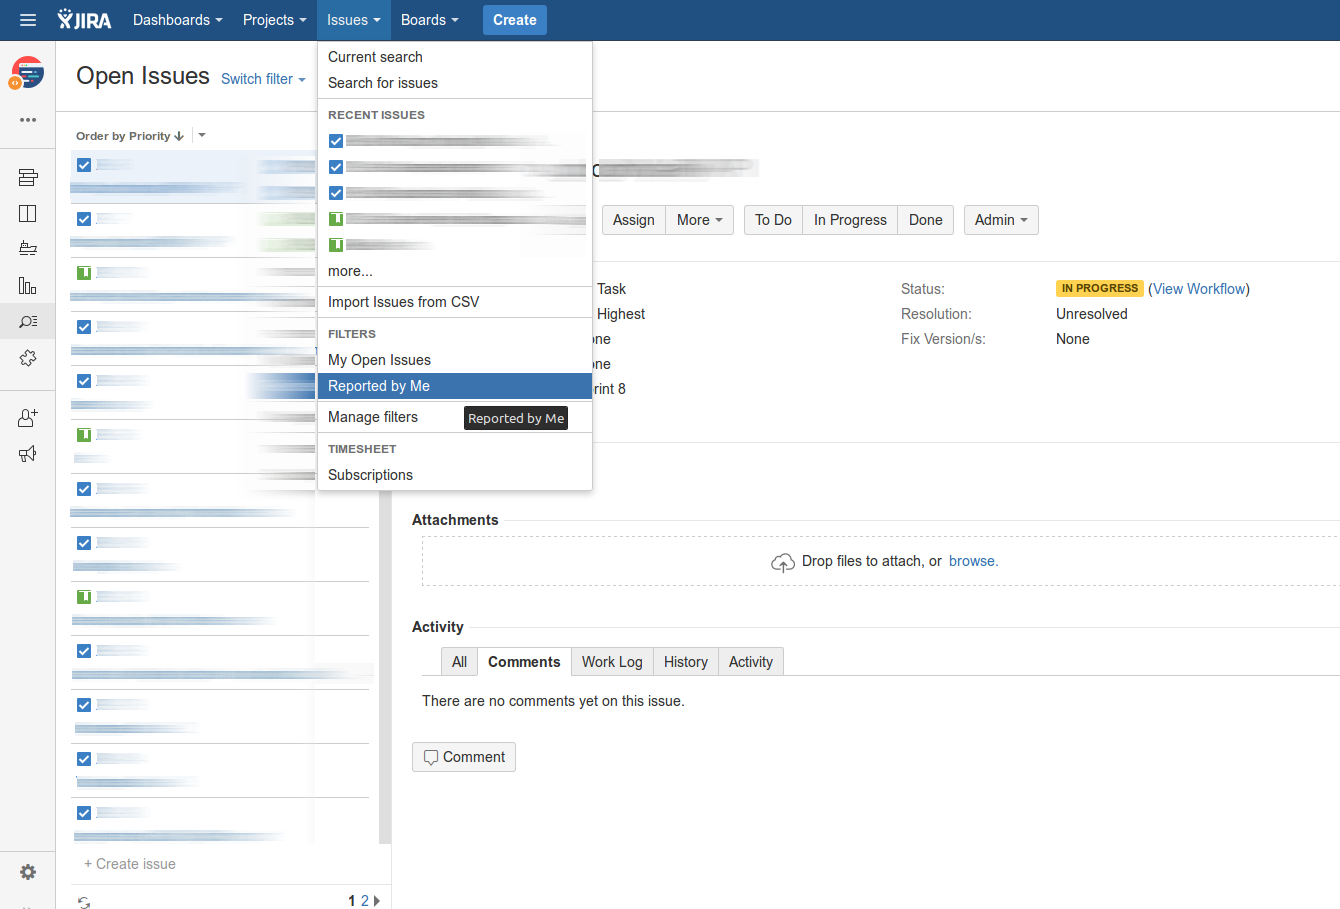
What we have to do is to use filter views, which will show all the tasks you were mentioned in. To do that first of all select your project you work on, and go to the top menu. Select the menu item labeled “Issues” and then choose one of the ready made filters, like the “Reported by Me”.
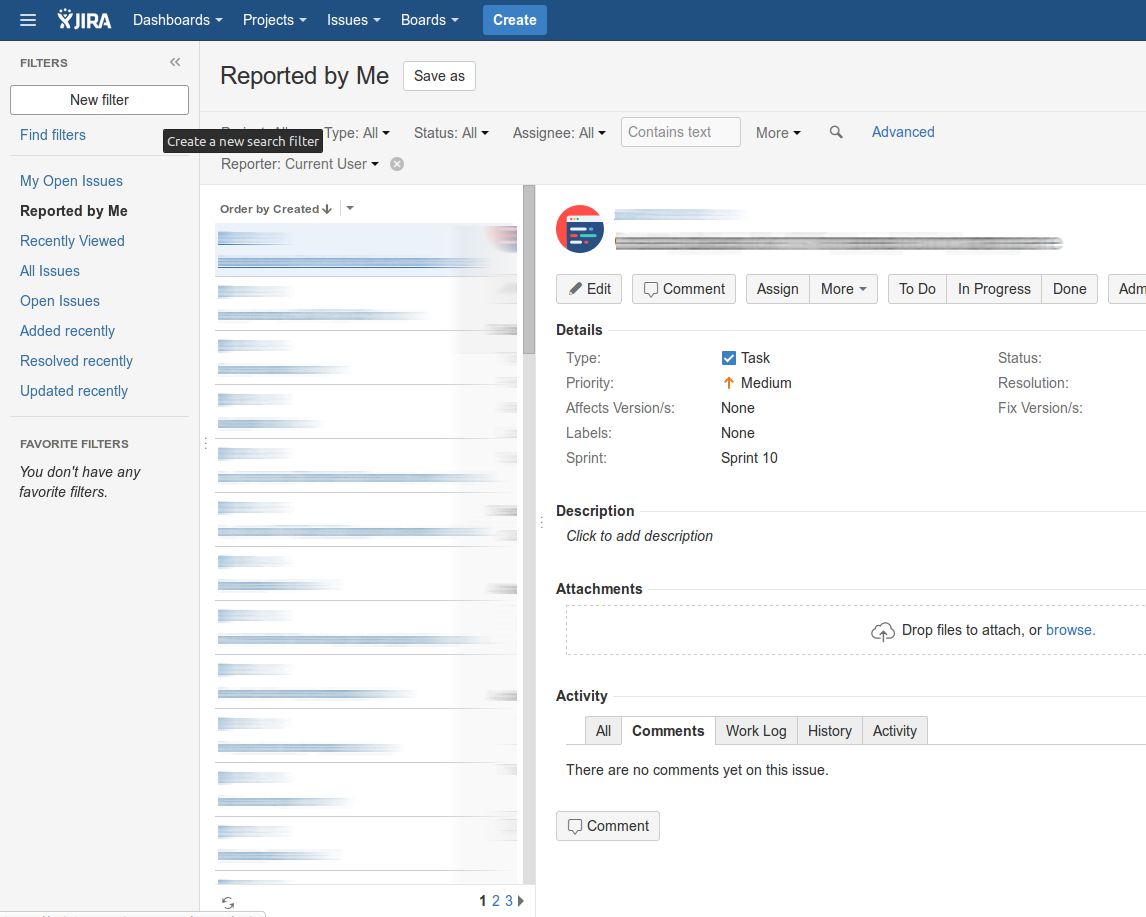
After that select the button labeled “New filter” at the left column, which will help you to create your new filters. In the next screen you can choose the filter parameters from the select boxes, if you like. There are a lot of parameters to choose from, but the filter we want to create right now will be faster and easier to do by using JQL statements. The JQL statements look like SQL scripts, and these bring a lot of power to users who know how to use them.
To set the parameters through JQL, click the link labeled “Advanced” and write the following line at the top text field:
text ~ currentUser() AND updatedDate >= -7d ORDER BY updated DESCAs soon as you press enter you will instantly see how the filter applies to your current tasks. You can of ’course make your own changes to the above statement to fulfill your needs.
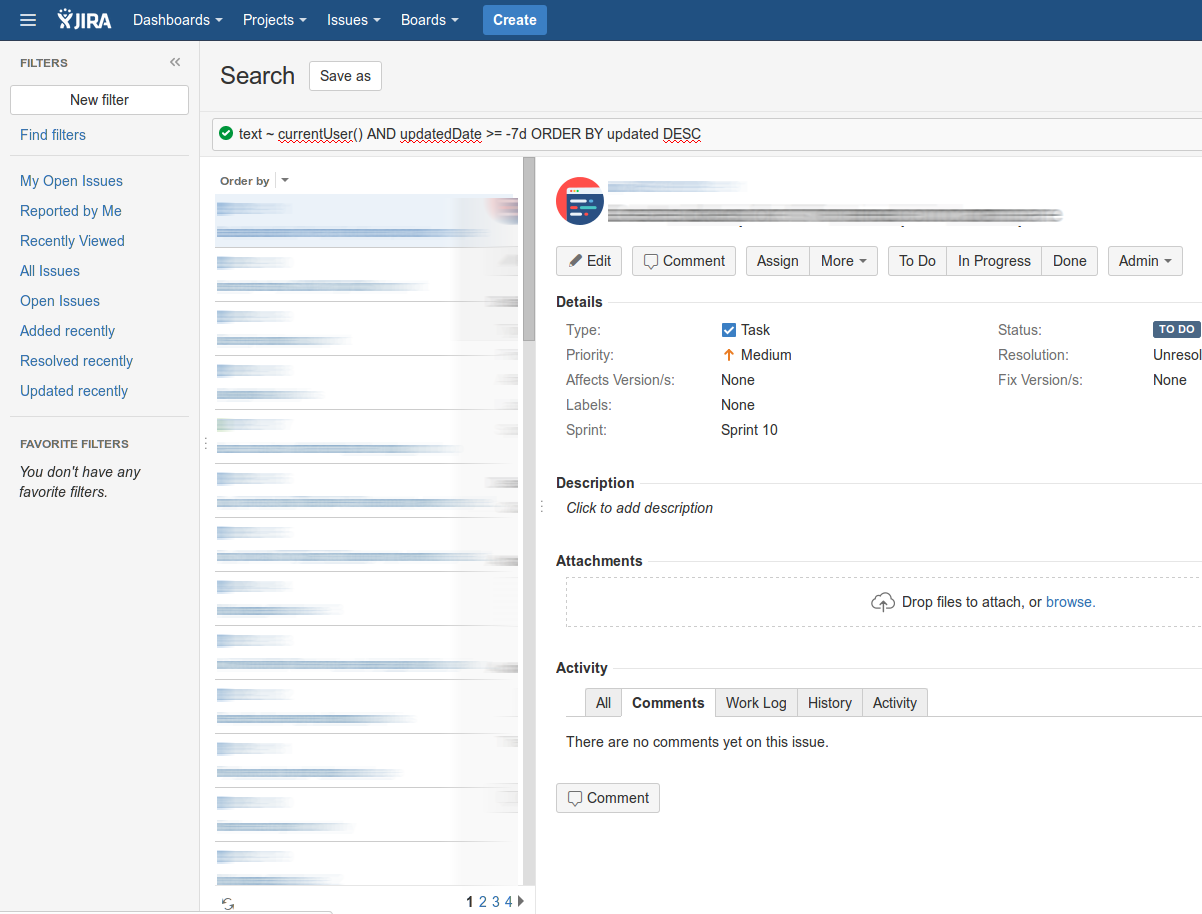
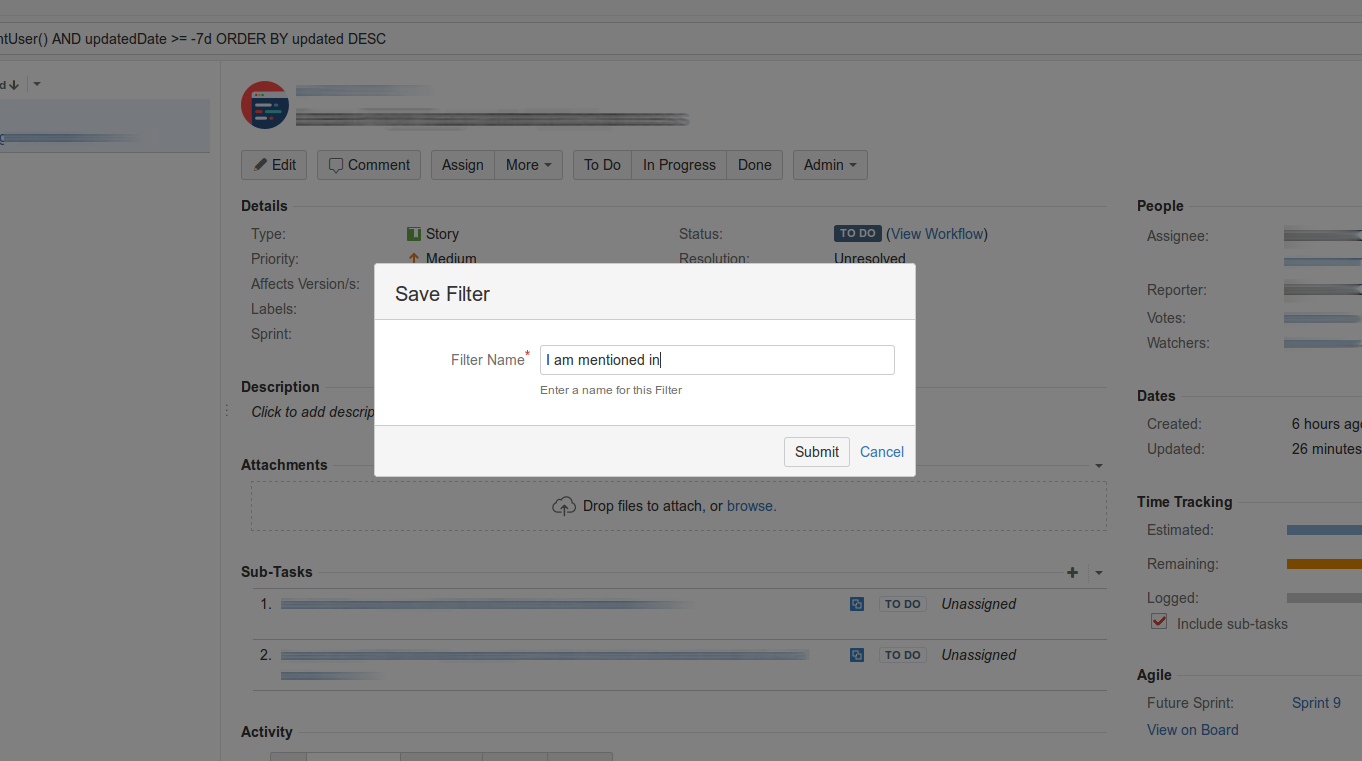
This statement will show you all the issues where people mentioned you the last 7 days, ordered by the update date and time, from the newest ones to the oldest. Now the only thing that remains to do is to save your new filter, by clicking the top button labeled “Save as”. A popup will show up, where you can insert a label, like “I am mentioned in”.
Your new filter will be available to be used again from the “Issues” menu. You will recognize it by the name you inserted. You can of ‘course edit it if you want, following the above steps again.

Hope this guide helps you to create your first filter into JIRA and inspire you to find more helpful ways to enhance your experience with this great platform.